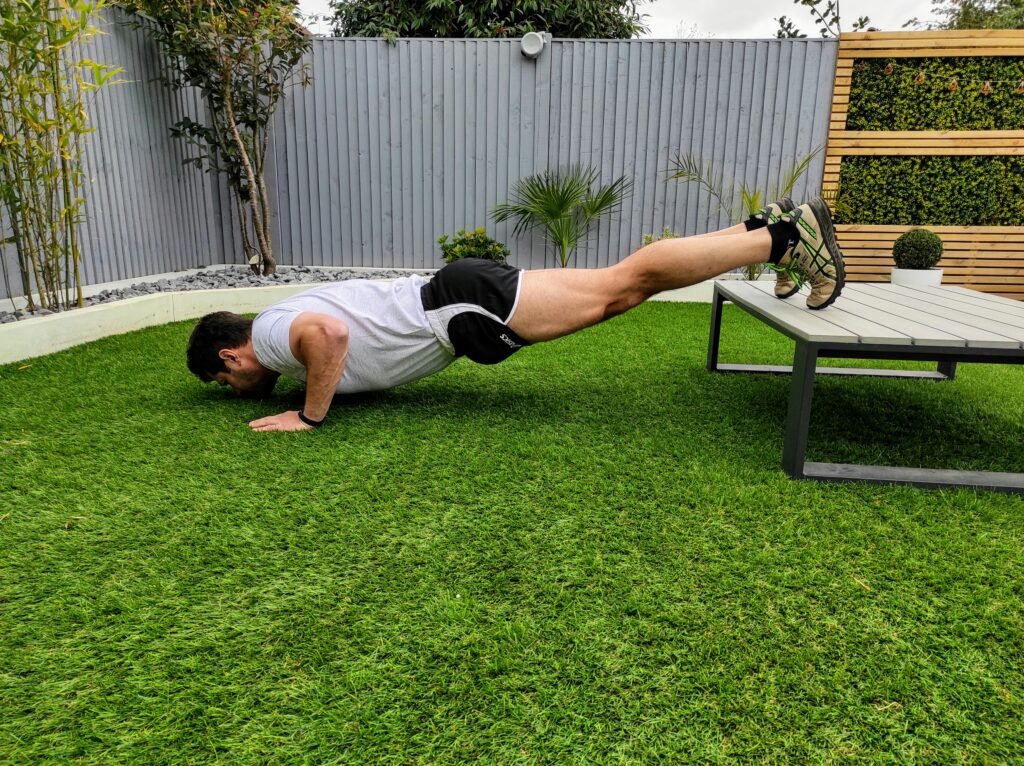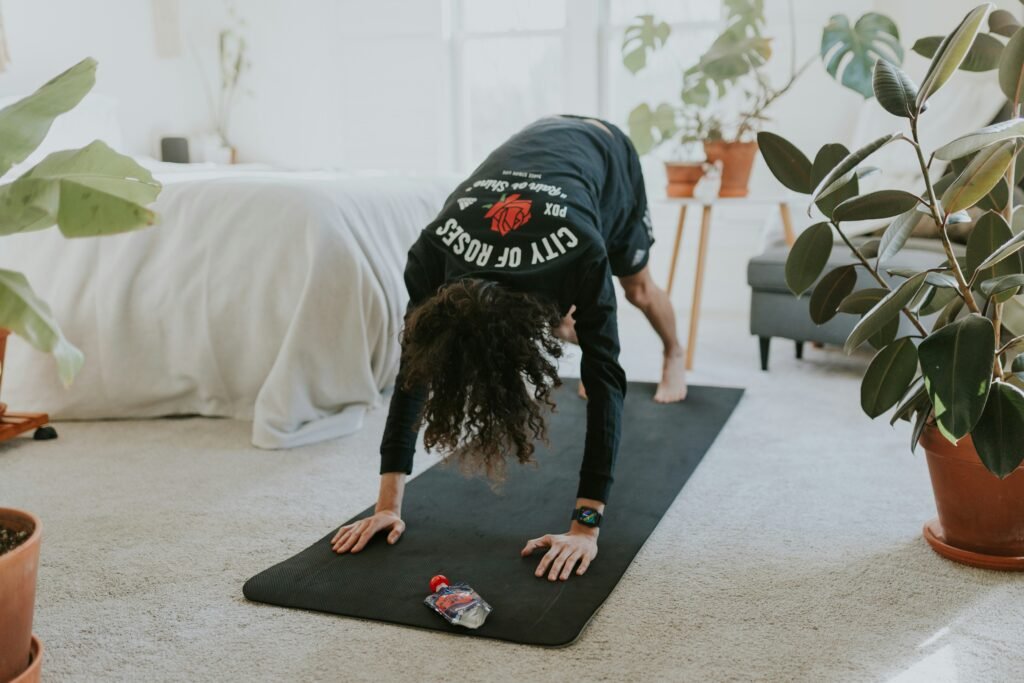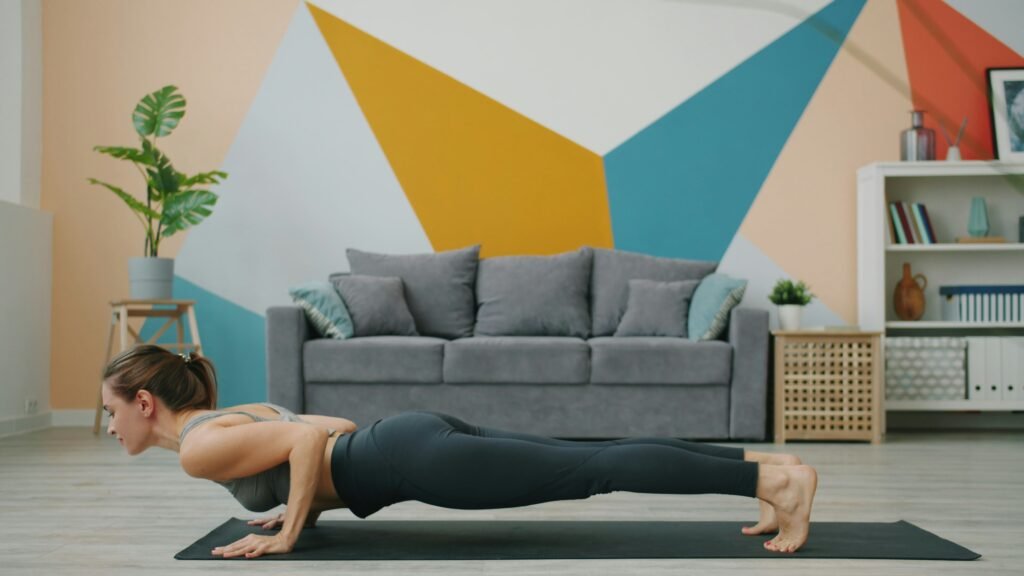
The essential home exercises for beginners that actually build real fitness don’t require a gym membership, a rack of dumbbells, or a single piece of equipment. What they require is your body, a small patch of floor, and the willingness to master five fundamental movement patterns that form the foundation of almost every effective fitness programme in the world. Get these right and you’ll build strength, burn calories, and move better — all without spending a cent on equipment.
Table of Contents
Why Bodyweight Training Works for Beginners
There’s a common misconception that bodyweight training is only for people who can’t afford a gym — or that it’s somehow less effective than training with weights. Neither is true.
For beginners specifically, bodyweight training is actually ideal. It forces you to develop control, balance, and coordination before adding external load. It teaches your joints and muscles to move correctly through full ranges of motion. And because there’s no equipment involved, the barrier to starting is essentially zero.
If you’ve been wondering whether training at home can genuinely produce results, our article on are home workouts actually effective breaks down exactly what the research says.
Master these five movements first. Everything else in fitness builds on them.
The 5 Essential Home Exercises for Beginners
1. The Bodyweight Squat — Lower Body Power
The squat is the single most important lower body movement you can learn. It trains your quads, hamstrings, glutes, and core simultaneously — and it directly translates to real life movements like sitting, standing, climbing stairs, and picking things up from the floor.
Step-by-step instructions:
- Stand with feet shoulder-width apart, toes pointing slightly outward
- Brace your core and keep your chest tall throughout the movement
- Push your hips back and bend your knees simultaneously, as if sitting back into a chair
- Lower until your thighs are parallel to the floor — or as far as comfortable
- Drive through your heels to stand back up, squeezing your glutes at the top
Easy modification:
Squat to an actual chair or low surface. Touch it lightly at the bottom and stand back up. This removes the fear of going too low and gives you a consistent depth target while you build strength and confidence.
Number one form mistake to avoid:
Letting your knees cave inward as you lower or stand up. Keep your knees tracking over your second toe throughout the entire movement. If they’re collapsing in, reduce your range of motion until your hip and glute strength catches up.
2. The Incline or Knee Push-Up — Upper Body Push
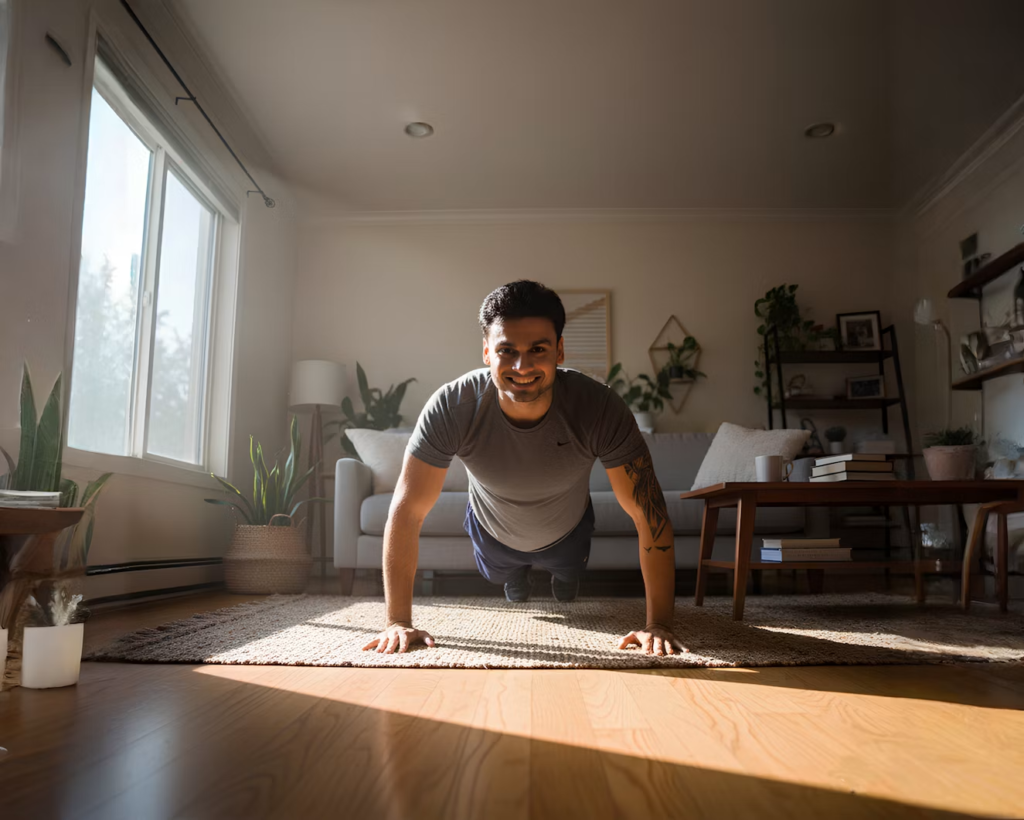
The push-up is the gold standard upper body bodyweight exercise — but full push-ups on the floor are genuinely hard for most beginners. Starting with an incline or knee variation isn’t a shortcut; it’s smart programming that lets you build the strength needed for the full movement safely.
Step-by-step instructions (incline version):
- Place your hands on a sturdy surface — a bench, couch, or countertop — slightly wider than shoulder-width
- Walk your feet back until your body forms a straight line from head to heels
- Brace your core and keep your hips level throughout
- Lower your chest toward the surface by bending your elbows at roughly 45 degrees from your body
- Press back up to the start position with control
Easy modification:
The higher your hands, the easier the movement. Start with a high surface and gradually lower it over weeks as you get stronger. Knee push-ups on the floor are also a great option — just keep your body in a straight line from knees to shoulders.
Number one form mistake to avoid:
Flaring your elbows out to 90 degrees like a “T” shape. This puts enormous stress on your shoulder joints. Keep elbows at roughly 45 degrees from your torso — it’s safer and more effective.
3. The Glute Bridge — Posterior Chain and Glute Activation
Most beginners have underactive glutes from long hours of sitting — and weak glutes contribute to lower back pain, poor posture, and reduced athletic performance. The glute bridge directly targets this and is one of the safest, most beginner-accessible exercises that exists.
Step-by-step instructions:
- Lie on your back with knees bent, feet flat on the floor hip-width apart
- Arms resting by your sides, palms facing down
- Brace your core and squeeze your glutes
- Drive your hips toward the ceiling until your body forms a straight line from shoulders to knees
- Hold the top position for one to two seconds, squeezing hard
- Lower slowly back to the floor with control
Easy modification:
If you feel this more in your hamstrings than your glutes, move your feet slightly closer to your body. Focus on the squeeze at the top of each rep — that’s where the glute activation actually happens.
Number one form mistake to avoid:
Hyperextending your lower back at the top to get more height. Your hips should rise until you have a straight line from knee to shoulder — going beyond this compresses your lumbar spine. Stop at straight.
4. The Reverse Lunge — Single-Leg Balance and Lower Body Strength
The reverse lunge is a safer and more beginner-friendly alternative to the forward lunge because it places less stress on the knee joint while still building single-leg strength, balance, and coordination. It also highlights imbalances between your left and right side — important information for any beginner.
Step-by-step instructions:
- Stand tall with feet hip-width apart and hands on your hips or by your sides
- Step one foot directly backward and lower your back knee toward the floor
- Your front thigh should be roughly parallel to the floor at the bottom
- Keep your front shin as vertical as possible — don’t let your knee push far over your toes
- Drive through your front heel to return to standing
- Alternate legs each rep
Easy modification:
Hold onto a wall or chair for balance as you build confidence. Focus on controlling the descent rather than going fast. Slow and controlled beats fast and wobbly every time.
Number one form mistake to avoid:
Leaning your torso too far forward. Keep your chest tall and your spine upright throughout. Leaning forward shifts load onto your lower back rather than your legs where it belongs.
5. The Forearm Plank — Core Stability and Spine Protection
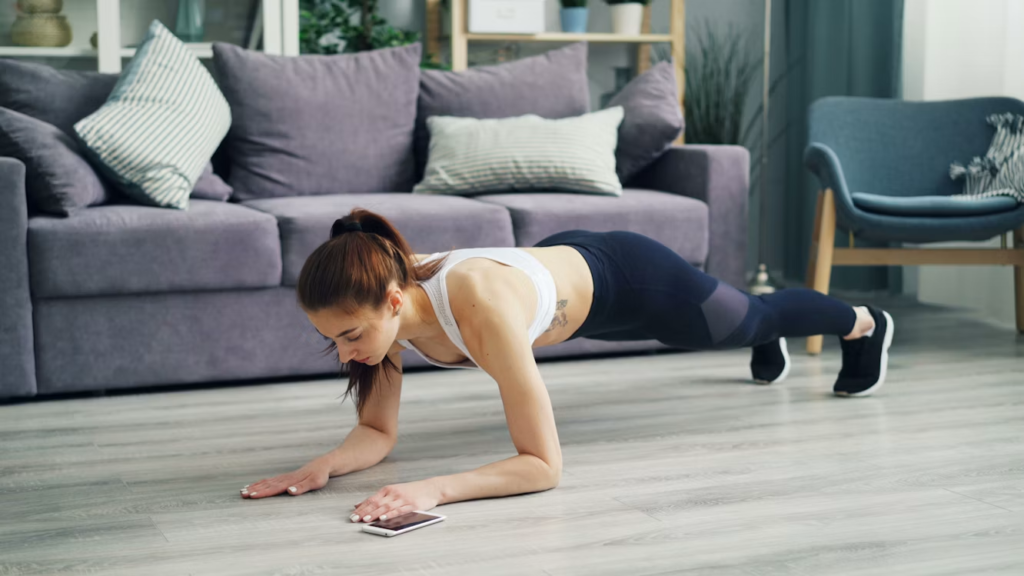
The plank is widely misunderstood. It’s not about how long you can hold it — it’s about how well you can hold it. A 20-second perfect plank is significantly more valuable than a 90-second plank with a sagging lower back and hiking hips.
Step-by-step instructions:
- Place your forearms on the floor, elbows directly beneath your shoulders
- Step your feet back so your body forms a straight line from head to heels
- Brace your core as if you’re about to take a punch to the stomach
- Squeeze your glutes and keep your hips level — no sagging, no piking upward
- Breathe steadily and hold the position
Easy modification:
Drop to your knees instead of your feet. The same body position applies — straight line from knees to shoulders, core braced, hips level. Build time here before progressing to the full version.
Number one form mistake to avoid:
Letting your hips sag toward the floor. This compresses your lumbar spine and removes the core challenge entirely. If your hips are sinking, drop to your knees or end the set. Quality over duration every time.
How to Put It Together: The 15-Minute Beginner Routine
Now that you know the movements, here’s exactly how to combine them into a simple, effective session you can do anywhere with zero equipment.
The routine — 3 rounds:
| Exercise | Reps / Time |
|---|---|
| Bodyweight Squat | 10 reps |
| Incline or Knee Push-Up | 8 to 10 reps |
| Glute Bridge | 12 reps |
| Reverse Lunge | 8 reps each leg |
| Forearm Plank | 20 to 30 second hold |
Rest 60 seconds between rounds. Complete 3 rounds total. The entire session takes roughly 15 minutes.
How often: Do this routine 2 to 3 times per week with at least one rest day between sessions. Consistency at this frequency beats doing it once and going all out. For a structured weekly plan built around these movements, our beginner home workout plan gives you a full four-week programme to follow.
What you need: Almost nothing. A comfortable non-slip exercise mat makes floor exercises significantly more comfortable and reduces the risk of slipping during planks and glute bridges. You can find affordable options on Shopee without spending much at all.
As your fitness builds, support your recovery with good sleep, adequate hydration, and basic nutrition. For basic daily wellness and recovery items like vitamins, electrolytes, and recovery supplements, Watsons has a wide range of accessible options to complement your training.
The Bottom Line
These 5 essential home exercises for beginners give you everything you need to build a genuine fitness foundation — no gym, no equipment, no excuses. The squat, push-up, glute bridge, reverse lunge, and forearm plank are not beginner exercises you’ll outgrow. They’re fundamental movement patterns that athletes and advanced lifters still train regularly because they work.
Focus on form before speed. Add reps before rounds. Be consistent before being intense. That’s the formula that actually produces results over time.
Disclaimer & Affiliate Disclosure:
This article is for informational purposes only and should not be taken as medical advice. Always consult with a qualified healthcare provider before making significant changes to your exercise routine. This article may also contain affiliate links. If you purchase through these links, we may earn a small commission at no extra cost to you.