Table of Contents
Quick Summary Box
- The technique: Light pressure, slow sweeping passes, 1 to 2 minutes per muscle group, low-to-medium speed
- Critical rule: Never hold the device over bony prominences or joints
- Top recovery device: A High-Torque Deep Tissue Percussion Massager covers every muscle group in this guide
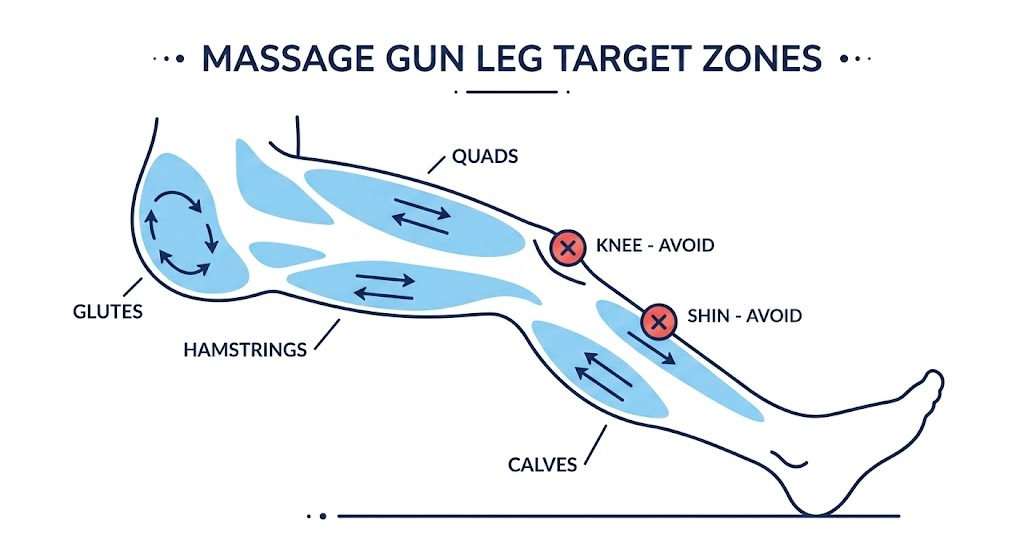
How to use a massage gun for sore legs comes down to three principles: use light pressure, glide slowly across the meat of the muscle rather than holding one spot, and spend 1 to 2 minutes per muscle group at a low-to-medium speed setting. Sweep from the middle of the muscle toward its edges, and always avoid bony prominences like your kneecap, shin bone, and hip bone.
Percussive therapy works by delivering rapid, targeted pulses into muscle tissue, which increases local blood flow and helps ease the tightness that builds up after leg day. Used correctly, it’s one of the most effective at-home recovery tools available for reducing DOMS and speeding up how quickly your legs feel normal again.
How Percussive Therapy Relieves Sore Legs
A massage gun works through rapid mechanical pulses driven into your muscle tissue. This does three things that directly support recovery.
It increases local blood flow. More blood flow to a worked muscle means more oxygen and nutrients delivered to tissue that’s actively repairing itself, which can speed up the recovery process.
It helps break up fascial tension. Fascia — the connective tissue surrounding your muscles — can tighten after intense training. Percussive pressure applied directly to this tissue helps encourage it to release.
It modulates pain signals. The rapid pulses can interrupt pain signaling at a local level, which is part of why a massage gun often provides that immediate “feels better” sensation during use, even before any longer-term recovery benefit kicks in.
According to Healthline, massage guns are widely used post-exercise to reduce muscle soreness and improve flexibility, working through the same fundamental mechanism as traditional massage but delivered through rapid percussive pulses instead.
Selecting the Right Massage Gun and Attachments for Leg Muscle Groups
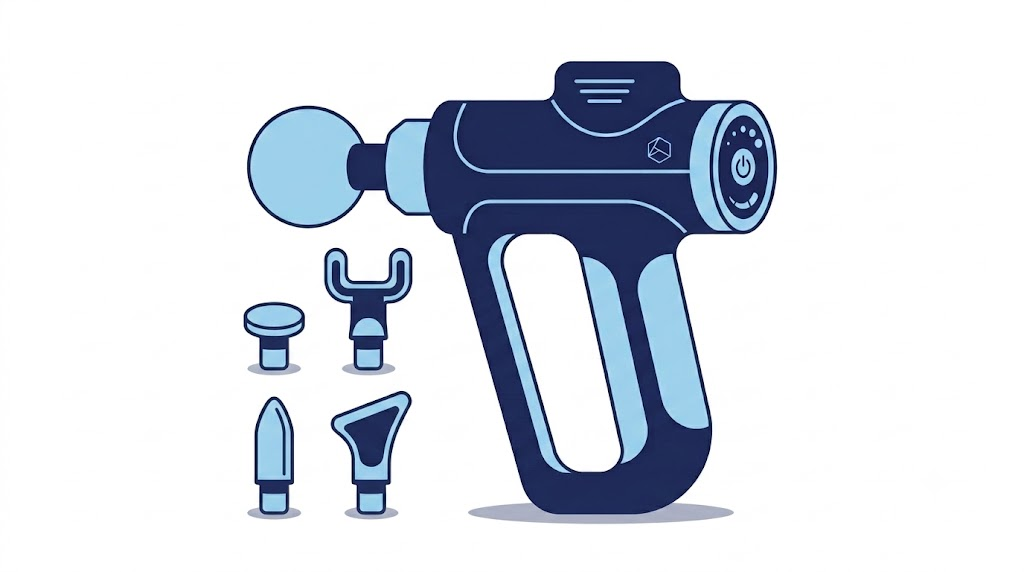
| Muscle Group | Best Attachment | Why |
|---|---|---|
| Quadriceps | Ball or Flat head | Large surface area, general muscle coverage |
| Hamstrings | Ball or Fork head | Fork straddles the muscle belly for targeted work |
| Calves | Ball or Bullet head | Bullet allows precise, focused pressure |
| Glutes | Flat or Ball head | Larger, flatter surface suits the muscle mass |
| IT Band / Near Joints | Avoid direct percussion | Use soft tissue emphasis on surrounding muscle instead, never directly on the band itself |
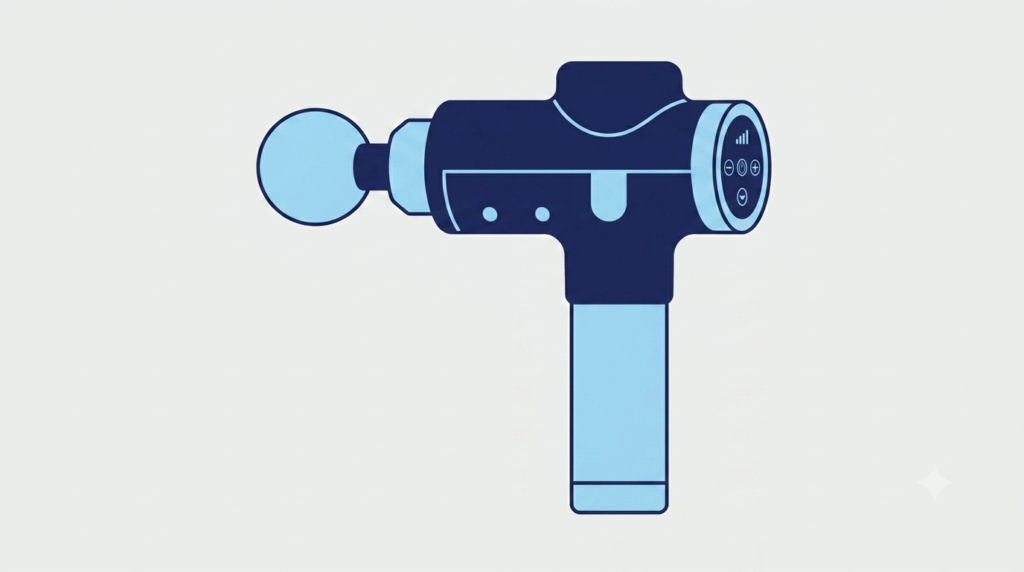
For most beginners working through this entire routine, a High-Torque Deep Tissue Percussion Massager offers the power and attachment variety needed to cover every leg muscle group effectively.
If portability matters more than raw power for you, a Pocket-Sized Mini Massager with Heated Attachment fits easily in a gym bag while still offering genuine percussive benefit for smaller muscle groups like calves.
If you want the combined benefit of heat alongside percussion for stubborn tightness, a Full-Size Heated Deep Tissue Muscle Massager adds warmth directly into the muscle tissue during your session.
Step-by-Step Leg Recovery Routine
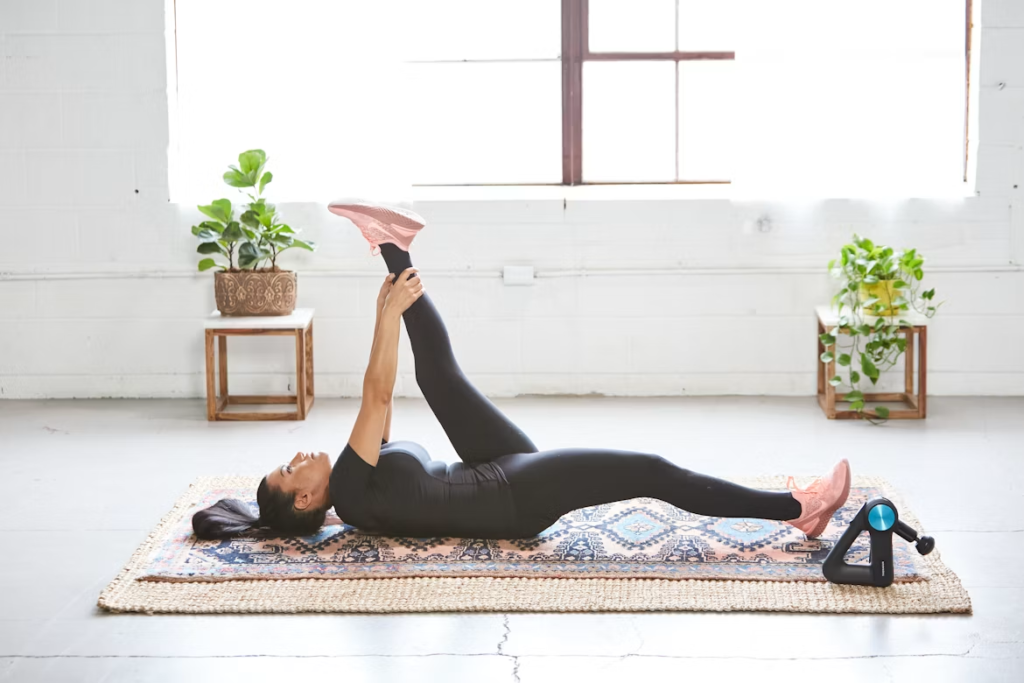
| Muscle Group | Duration | Attachment | Direction |
|---|---|---|---|
| Quadriceps | 1-2 min per side | Ball or Flat | Sweep hip to knee |
| Hamstrings | 1-2 min per side | Ball or Fork | Sweep glute fold to back of knee |
| Calves | 1 min per side | Ball or Bullet | Avoid direct Achilles contact |
| Glutes / IT Band Region | 1-2 min per side | Flat or Ball | Soft tissue emphasis |
Quadriceps (1-2 minutes per side)
Starting just below your hip, glide the massage gun slowly down toward your knee, staying entirely on the fleshy front of your thigh. Avoid pressing directly onto your kneecap at the bottom of the pass.
Hamstrings (1-2 minutes per side)
Beginning at the base of your glute fold, glide slowly down the back of your thigh toward the back of your knee. Stop well before you reach the actual knee joint itself.
Calves and Soleus (1 minute per side)
Working from just below your knee down toward your ankle, sweep slowly across your calf muscle. Avoid pressing directly on your Achilles tendon — treat the muscle belly of the calf, not the tendon itself.
Glutes and IT Band Region (1-2 minutes per side)
Apply the massage gun to the meat of your glute muscle with a soft tissue emphasis. For IT band tightness specifically, work the surrounding quad and glute muscles rather than pressing directly onto the band itself, which sits close to bone along much of its length.
Safety and Areas to Avoid
This is the most important section in this entire guide. Getting this wrong is how a helpful recovery tool becomes a genuine injury risk.
Never use a massage gun directly over bone. This includes your kneecap (patella), shin bone (tibia), and hip bone. Bone has no muscle tissue to cushion the percussive impact, and repeated pressure here can irritate the tendons and bursa sacs that sit close to the bone surface.
Never use a massage gun behind the knee (the popliteal fossa). This small area behind your knee contains major blood vessels and nerves sitting close to the surface with minimal protective tissue. Direct percussive pressure here carries real risk of nerve irritation or vascular injury — this is a genuine no-go zone, not an exaggerated caution.
Never use a massage gun on an acute injury. If you’ve recently strained or pulled a muscle, wait at least 3 to 5 days before introducing any percussive pressure to the area, and avoid it entirely while the area is actively inflamed, swollen, or acutely painful. Using percussive therapy too soon on a fresh injury can worsen the damage rather than help it.
According to Mayo Clinic Press, massage is considered one of the most effective techniques for improving delayed-onset muscle soreness specifically — but that research applies to normal post-workout soreness, not to fresh, acute injuries, which need a different recovery approach entirely.
Pre-Workout Activation vs. Post-Workout DOMS Relief
Pre-workout: Use short, 30-second rapid passes over major muscle groups at a slightly higher speed setting. This is about activation and blood flow before you train, not deep tissue release — keep it brief.
Post-workout: Use the slower, 1 to 2 minute gliding passes detailed above at a lower speed setting. This is where the genuine recovery benefit happens, working through tightness that built up during your session.
If your soreness feels more significant than usual or lingers well beyond a few days, our guide on working out with sore muscles covers exactly how to tell the difference between normal DOMS and something that needs more caution.
Frequently Asked Questions
How long should you use a massage gun on sore leg muscles?
Spend 1 to 2 minutes per muscle group, keeping total session time under 15 minutes across all areas. Longer sessions on a single spot don’t improve results and can actually irritate the muscle rather than help it recover.
Can you use a massage gun directly on the shin bone or knee?
No. Both are bony areas with minimal muscle tissue cushioning them, and direct percussive pressure here risks irritating tendons and the bursa sacs that sit close to bone. Stay on the fleshy muscle tissue surrounding these areas instead.
Is a massage gun good for acute leg muscle strains?
Not immediately. If you’ve just strained a muscle, wait 3 to 5 days before using a massage gun on the area, and avoid it entirely while there’s active swelling, inflammation, or sharp pain. Once you’re past that acute phase, percussive therapy can support ongoing recovery — but for a genuine strain, especially anything beyond mild, see a doctor or physical therapist rather than relying on a massage gun as treatment.
Should I use heat or cold massage gun attachments for DOMS?
Heat attachments generally work well for standard DOMS and general muscle tightness, since warmth helps relax tissue and supports blood flow to the area. If you’re dealing with acute swelling or inflammation rather than typical delayed soreness, cold therapy separate from your massage gun session is usually the better choice — heat isn’t recommended on actively inflamed tissue.
Disclaimer & Affiliate Disclosure
This article is for informational purposes only and should not be taken as medical advice. Always consult with a qualified healthcare provider or certified fitness professional before starting or changing your exercise routine. This article may also contain affiliate links. If you purchase through these links, we may earn a small commission at no extra cost to you.