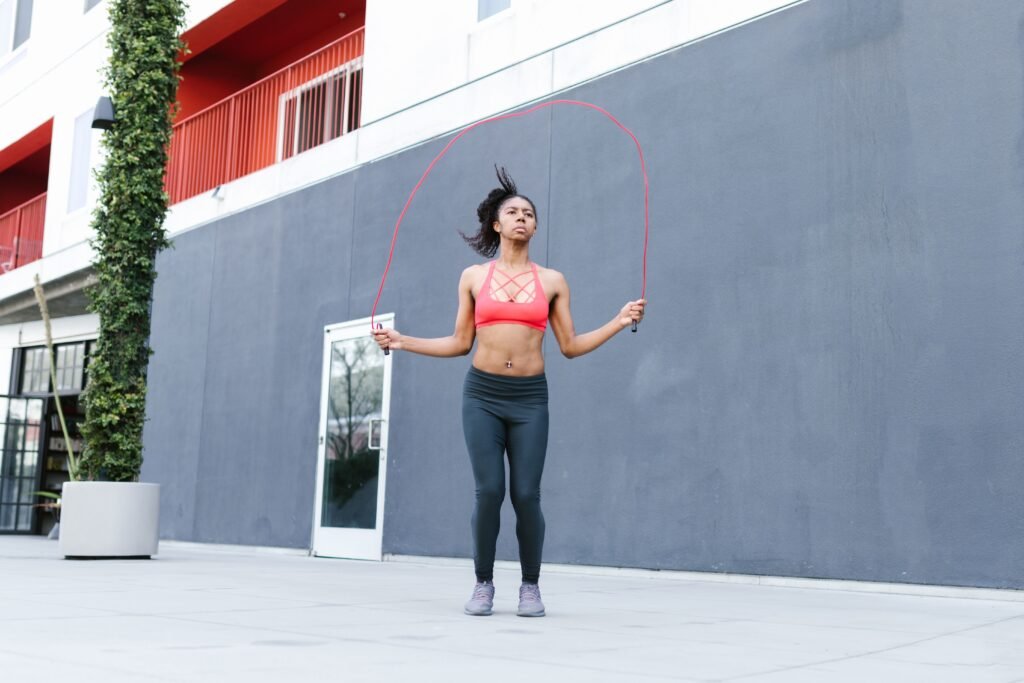
A jump rope workout for beginners takes just 10 to 20 minutes, needs one cheap piece of equipment, and works your heart and legs harder than most people expect.
Table of Contents
Quick Summary
- The plan: a 4-week routine, 3 days a week, that starts with 20 seconds of jumping and 40 seconds of rest and builds from there.
- Why it feels hard: the Compendium of Physical Activities rates slow rope jumping at 8.3 METs and moderate pace at 11.8 METs, which is vigorous exercise.
- Rope size: stand on the middle of the rope and the handles should reach about your armpits.
- Protect your shins: build up gradually, wear supportive shoes, and avoid jumping on concrete.
Most beginner guides hand you a list of circuits and skip the parts that keep you injury-free. This one covers how to pick a rope, how to jump without wrecking your shins, and a simple plan you can follow without guessing.
Why Jump Rope Is Harder Than It Looks
Jumping rope looks easy until you try 30 seconds in a row. Your calves, hips, shoulders and heart all work at once, and most beginners trip or run out of breath within the first minute.
That is not a sign you are unfit. The 2024 Compendium of Physical Activities assigns rope jumping at a slow pace (under 100 skips a minute) 8.3 METs, and a moderate pace (100 to 120 skips a minute) 11.8 METs. Any activity above 6 METs counts as vigorous, so even a slow beginner pace sits well into that range.
A MET is just a measure of effort compared with sitting still. At 8.3 METs you are working a little over eight times as hard as resting, which is why short bursts are enough to start.
How Many Calories Does Jump Rope Burn?
You can estimate it with a standard formula: calories per minute equals METs times 3.5 times your body weight in kilograms, divided by 200. These numbers are estimates, and they only count the minutes you are actually jumping.
| Body weight | Slow pace (8.3 METs) | Moderate pace (11.8 METs) |
|---|---|---|
| 60 kg (132 lb) | about 8.7 per minute | about 12.4 per minute |
| 70 kg (154 lb) | about 10.2 per minute | about 14.5 per minute |
| 80 kg (176 lb) | about 11.6 per minute | about 16.5 per minute |
Here is the part most guides skip. In a 10-minute session with 20 seconds of jumping and 40 seconds of rest, you only jump for about 3 minutes. That is roughly 30 to 45 calories, so treat jump rope as a fitness builder, not a quick fix for fat loss.
What You Need to Get Started
You do not need much. Here is the short list.
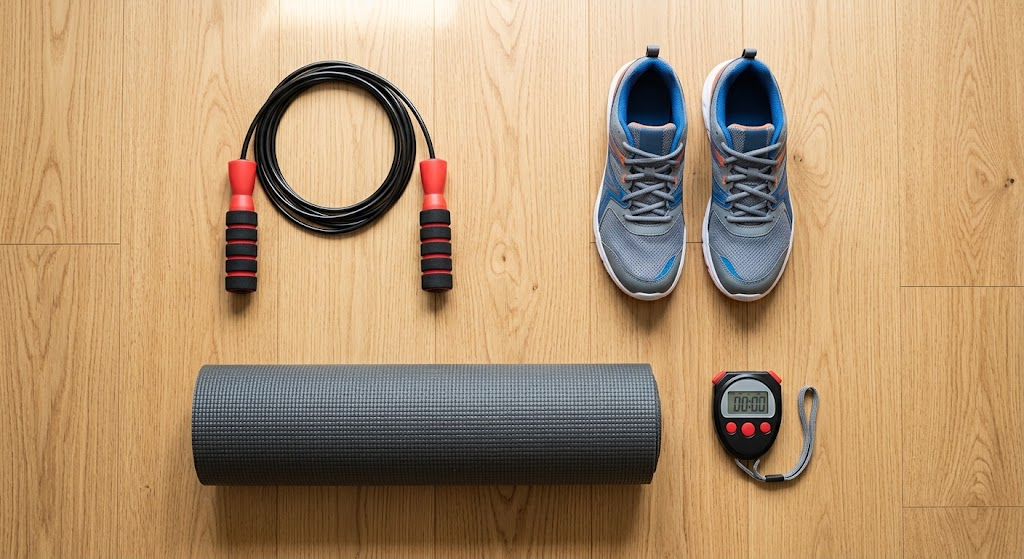
- Adjustable jump rope: the main tool. Look for a rope that adjusts to your height and doesn’t tangle, and check the listing for the length range before you buy.
- Supportive athletic shoes: shoes that fit well and cushion your landing. Flat, worn-out shoes make shin pain more likely.
- A suitable surface: a wood floor, gym floor or rubber mat is kinder than concrete.
- Resistance band set: for your strength days. Bands are a low-impact way to work your legs and hips on the days you do not jump.
- Adjustable dumbbells: optional, but useful once bodyweight strength work feels easy.
How to Size Your Rope
Stand on the middle of the rope with one or both feet. Pull the handles straight up, and they should reach about your armpits.
If you are a total beginner, a rope that is a little longer is easier to learn on. Shorten it as your timing improves, because a shorter rope turns faster and is harder to control.
Jump Rope Form for Beginners

Good form makes the rope feel easier and keeps your joints happier. These are the basics to get right before you add speed.
- Jump low. You only need to clear the rope by about an inch. Jumping higher wastes energy and adds impact.
- Land softly. Stay on the balls of your feet with your knees slightly bent, and avoid slamming your heels down.
- Turn with your wrists. Keep your elbows close to your ribs and your hands at hip height. Big arm circles tire your shoulders quickly.
- Look ahead. Keep your chest up and your eyes level, not down at your feet.
- Count time, not jumps. If you trip, just keep going. Your session is timed, so the clock keeps running.
Warm Up First
A short warm-up makes your calves and ankles ready for the impact. Spend about three minutes on easy marching, ankle rolls and bodyweight squats. Our guide to how to warm up before a workout has a full routine if you want one.
Your 4-Week Jump Rope Workout for Beginners
Do this plan three days a week with at least one rest day between sessions. Each week, keep the same warm-up and finish with two minutes of easy walking.
| Week | Jump time | Rest time | Rounds | Total jumping |
|---|---|---|---|---|
| 1 | 20 seconds | 40 seconds | 8 | about 2 min 40 sec |
| 2 | 30 seconds | 30 seconds | 8 | 4 minutes |
| 3 | 40 seconds | 20 seconds | 8 | about 5 min 20 sec |
| 4 | 45 seconds | 15 seconds | 10 | about 7.5 minutes |
These numbers are a simple starting point, not a medical program. If you cannot finish a week comfortably, repeat the previous week before moving on.
The basic two-foot bounce is all you need for the first four weeks. When it feels easy, try alternating your feet as if you were jogging in place. That step jump is the next skill most people learn.
For help planning the rest of your week, our guide on how often you should work out explains how to mix cardio and strength days.
What to Do After Week 4
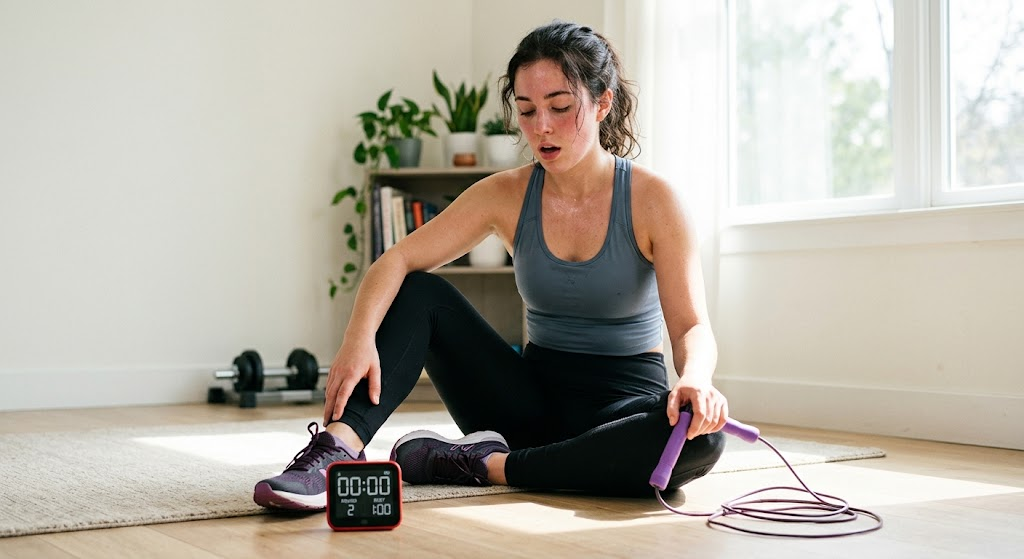
Once the plan feels easy, change one thing at a time so your legs keep adapting. Here are four ways to progress, from easiest to hardest:
- Add a round. Go from 10 to 12 rounds before you change anything else.
- Learn the step jump. Alternate your feet like a slow jog in place.
- Shorten the rest. Cut each rest by 5 seconds every week.
- Combine with strength. Alternate a round of jumping with a round of squats or band walks to turn it into a circuit.
Keep at least one rest day between sessions even as you progress. Your bones and tendons adapt more slowly than your lungs, so they need the extra time.
How to Protect Your Shins and Joints
The biggest risk for beginners is doing too much, too soon. The American Academy of Orthopaedic Surgeons explains that shin splints often come from sudden changes in training, such as more frequent or more intense sessions. Worn-out or poorly fitting shoes, flat feet and very stiff arches also raise the risk.
A few simple habits lower your odds:
- Add time slowly. Follow the weekly plan above instead of jumping straight to long sets.
- Wear shoes made for athletic training. Replace them when the cushioning feels flat.
- Mix in low-impact days. Swimming, cycling or a resistance band workout gives your shins a break.
- Stop if pain is sharp. The AAOS advises seeing a doctor if shin pain doesn’t improve with rest and self-care, since it can signal a stress fracture or another problem.
If you have heart, joint or bone problems, such as osteoporosis, are pregnant, or have been inactive for a long time, check with a healthcare provider before starting.
Common Mistakes to Avoid
- Jumping too high. Low jumps are faster to repeat and easier on your legs.
- Using a rope that is too short. It catches your feet and makes you trip.
- Doing long sets on day one. Start with short rounds, even if they feel too easy.
- Skipping rest days. Your legs need time to adapt to the impact.
- Looking down. It rounds your upper back and throws off your timing.
Quick Answers
How long should a beginner jump rope? Start with about 8 minutes including rests, which is only a couple of minutes of jumping. Build to 10 or 15 minutes of intervals over a month.
Is a jump rope workout for beginners good for weight loss? It can help as part of a plan that includes a calorie deficit, because it is a vigorous activity. On its own, short sessions burn fewer calories than most people think.
Can jump rope burn belly fat? No exercise removes fat from one area. Jumping adds to your total energy use, and fat comes off across your whole body over time.
Do I need to jump every day? No. Three days a week is enough to start, and your legs recover better with rest days in between.
The Bottom Line
A jump rope workout for beginners works best when you start small. Pick a properly sized rope, jump low, follow the 4-week plan and add time slowly. Your calves and lungs will feel it quickly, and that is normal.
Give it a full month before you judge it. Add a couple of strength days with bands or dumbbells, take your rest days seriously, and you will build fitness without the shin pain that stops most beginners.
Disclaimer & Affiliate Disclosure
This article is for informational purposes only and should not be taken as medical advice. Always consult with a qualified healthcare provider or certified fitness professional before starting or changing your diet or exercise routine. This article may also contain affiliate links. If you purchase through these links, we may earn a small commission at no extra cost to you.